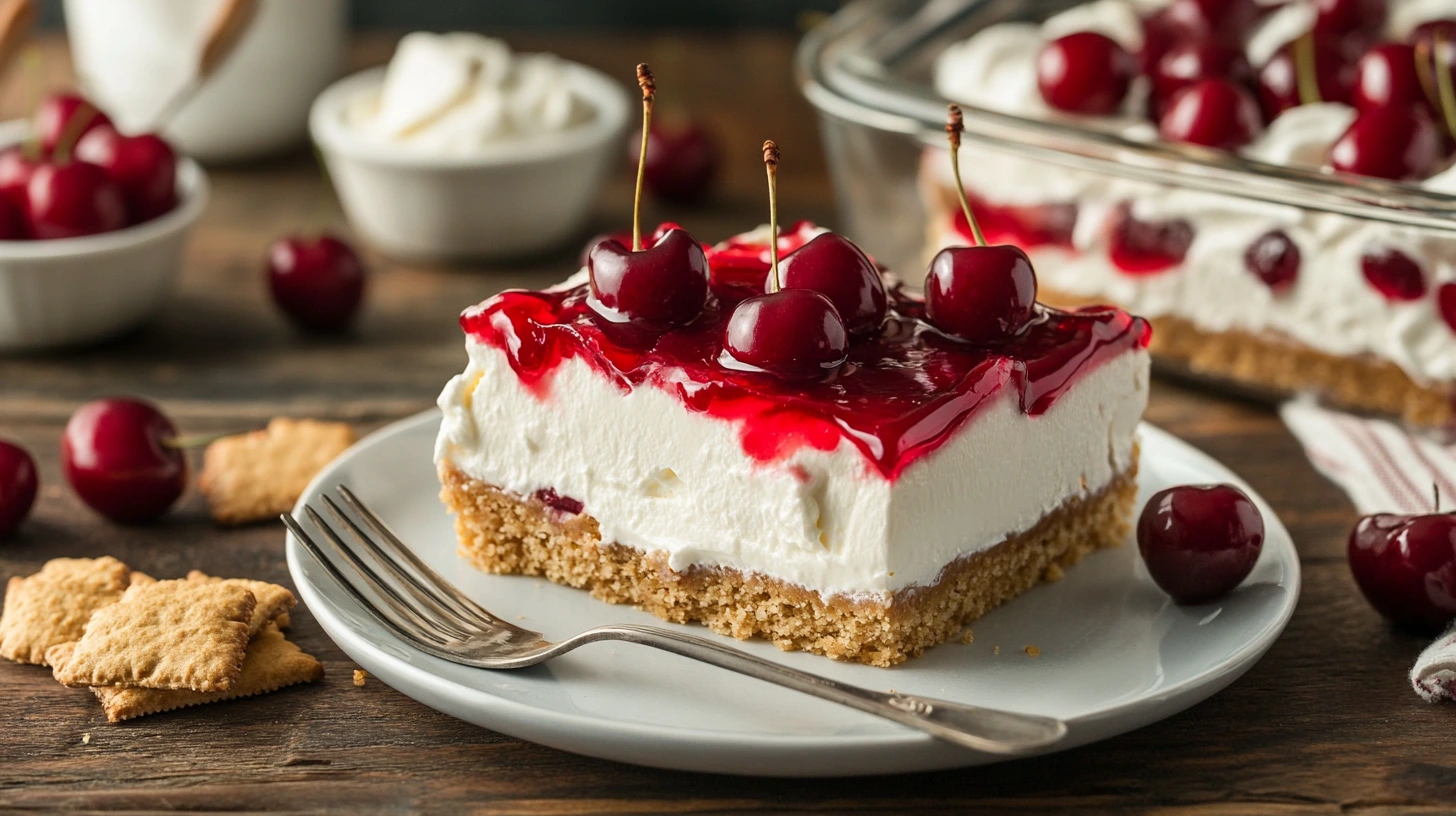
Have you ever craved a dessert that’s both irresistibly creamy and delightfully sweet? Cherry Yum Yum is the answer! This no-bake classic combines a buttery graham cracker crust, a velvety cream cheese layer, and a tangy cherry pie filling to create a dessert that’s as beautiful as it is delicious.
Perfect for holidays, potlucks, or a simple family treat, this layered dessert is a crowd-pleaser that’s incredibly easy to make. No oven? No problem! With just a few simple steps, you’ll have a show stopping dessert that’s ready to impress. So, grab your favorite serving dish and let’s get started on this sweet and tangy masterpiece!
Table of Contents
Key Benefits of Cherry Yum Yum
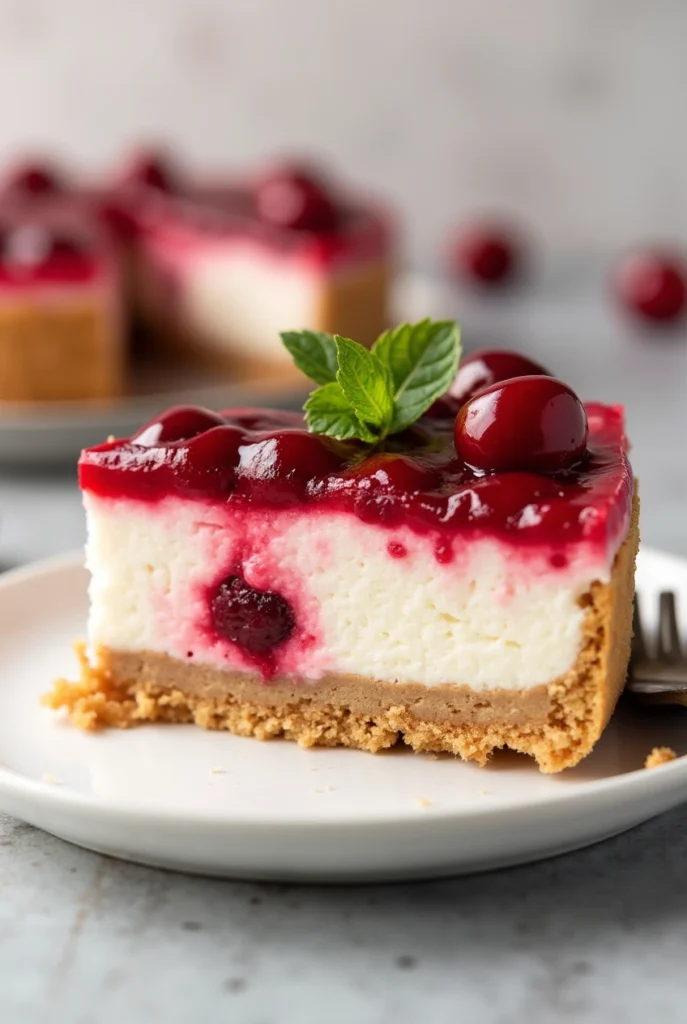
Why should Cherry Yum Yum be your next go-to dessert? Let me tell you why this no-bake classic is a must-try:
- Quick and Easy to Make: Whether you’re a seasoned baker or a beginner in the kitchen, this recipe is foolproof. With just a few simple steps and no oven required, you’ll have a stunning dessert ready in no time.
- Perfect for Any Occasion: From holiday gatherings to casual family dinners, Cherry Yum Yum fits right in. It’s a versatile dessert that works for everything from potlucks to special celebrations.
- A Flavorful Crowd-Pleaser: The combination of the buttery graham cracker crust, creamy cheesecake layer, and tangy cherry pie filling creates a flavor profile that’s both indulgent and refreshing. It’s the kind of dessert that keeps everyone coming back for seconds!
- Customizable to Your Taste: Not a fan of cherries? Swap the cherry pie filling for blueberry, strawberry, or even peach. You can easily adapt this recipe to suit your preferences or the season.
- Make-Ahead Convenience: Cherry Yum Yum is even better when made ahead of time, giving the layers a chance to set and the flavors to meld. It’s the perfect dessert for stress-free entertaining.
This dessert isn’t just delicious—it’s a lifesaver for busy schedules and a guaranteed hit with any crowd. Ready to dive into the ingredients? Let’s get started!
Ingredients for Cherry Yum Yum
Let’s gather everything you need to create this creamy, dreamy dessert! The ingredients are simple, and you likely already have most of them in your kitchen. Here’s what you’ll need:
For the Graham Cracker Crust
- 2 cups graham cracker crumbs – The base of this dessert, providing a buttery, slightly sweet crunch.
- ½ cup unsalted butter, melted – Helps bind the crust together and adds richness.
- ¼ cup granulated sugar – Just a touch to sweeten the crust.
For the Cream Cheese Layer
- 2 (8-ounce) packages cream cheese, softened – The star of the creamy layer. Make sure it’s at room temperature for easy mixing.
- 1 cup powdered sugar – Adds sweetness without the grainy texture.
- 1 teaspoon vanilla extract – Enhances the flavor with a warm, aromatic touch.
- 1 (8-ounce) container whipped topping (like Cool Whip) – Makes the layer light and fluffy.
For the Cherry Topping
- 1 (21-ounce) can cherry pie filling – The tangy, sweet topping that gives this dessert its signature flavor.
Optional Add-Ons
- Fresh cherries – For garnish, if you want to add a pop of color and freshness.
- Shaved chocolate or crushed nuts – For an extra layer of texture and flavor.
Ingredient Tips
- Graham Cracker Crumbs: If you don’t have pre-made crumbs, crush whole graham crackers in a food processor or place them in a zip-top bag and crush with a rolling pin.
- Whipped Topping Substitute: Prefer homemade? Whip 1 cup of heavy cream with 2 tablespoons of powdered sugar until soft peaks form.
- Pie Filling Variations: Not a fan of cherries? Swap it out for blueberry, strawberry, or even apple pie filling for a fun twist.
Now that you’ve got everything ready, let’s move on to assembling this irresistible dessert!
How to Make the Perfect Cherry Yum Yum
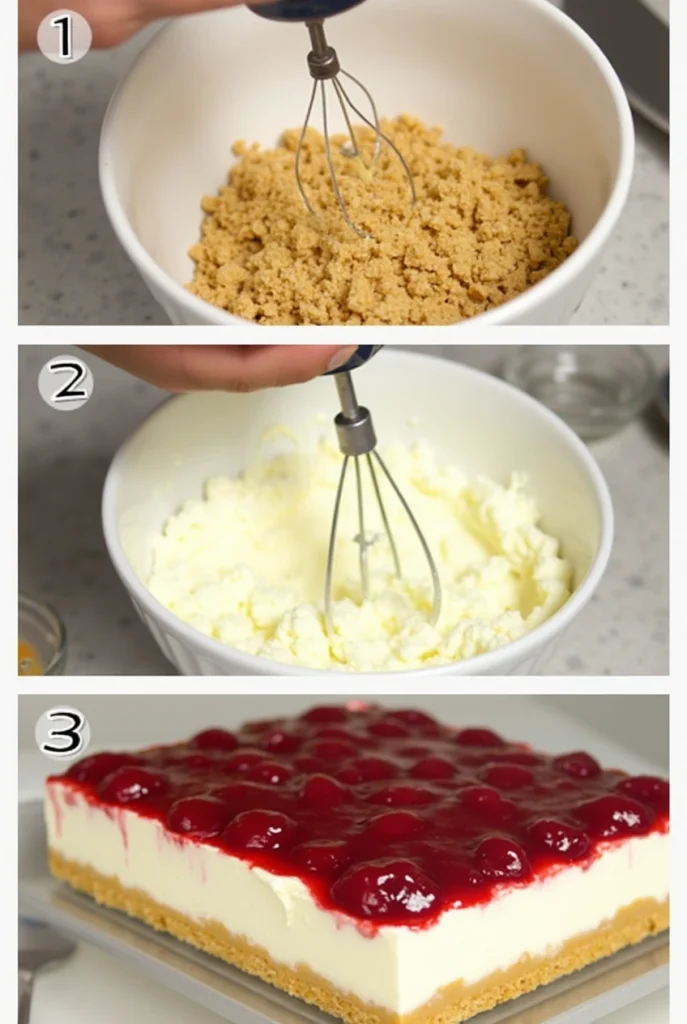
Creating Cherry Yum Yum is a delightful process that’s as enjoyable as the dessert itself. This no-bake recipe is simple, quick, and perfect for any occasion. Let’s walk through the steps together to ensure your dessert turns out creamy, sweet, and absolutely irresistible!
Step 1: Prepare the Graham Cracker Crust
The foundation of any great Cherry Yum Yum is a sturdy, flavorful crust. Here’s how to make it:
- Combine the ingredients: In a medium bowl, mix 2 cups of graham cracker crumbs, ½ cup of melted butter, and ¼ cup of granulated sugar. Stir until the crumbs are evenly coated and the mixture feels like damp sand.
- Press it down: Transfer the mixture to a 9×13-inch baking dish. Use the back of a spoon or the bottom of a measuring cup to press the crumbs firmly into an even layer.
- Chill the crust: Place the dish in the refrigerator for at least 15 minutes to set the crust while you prepare the next layer.
Step 2: Whip Up the Cream Cheese Layer
This creamy layer is the heart of Cherry Yum Yum, adding a luscious texture and tangy flavor.
- Beat the cream cheese: In a large mixing bowl, beat 16 ounces of softened cream cheese with an electric mixer until smooth and creamy.
- Sweeten it up: Add 1 cup of powdered sugar and 1 teaspoon of vanilla extract. Continue mixing until the mixture is light and fluffy.
- Fold in the whipped topping: Gently fold in 2 cups of whipped topping (or homemade whipped cream) using a spatula. Be careful not to overmix—you want the layer to stay light and airy.
- Spread it out: Evenly spread the cream cheese mixture over the chilled graham cracker crust, ensuring it reaches all the edges.
Step 3: Add the Cherry Topping
The cherry topping is what gives this dessert its signature flavor and vibrant color.
- Prepare the topping: Open a 21-ounce can of cherry pie filling and stir it gently to ensure it’s smooth and easy to spread.
- Layer it on: Spoon the cherry pie filling over the cream cheese layer, spreading it evenly with the back of a spoon. Make sure the cherries are distributed evenly for a perfect bite every time.
Step 4: Chill and Serve
Patience is key to achieving the perfect Cherry Yum Yum!
- Refrigerate: Cover the dish with plastic wrap or aluminum foil and refrigerate for at least 4 hours, or overnight if possible. This allows the layers to set and the flavors to meld together beautifully.
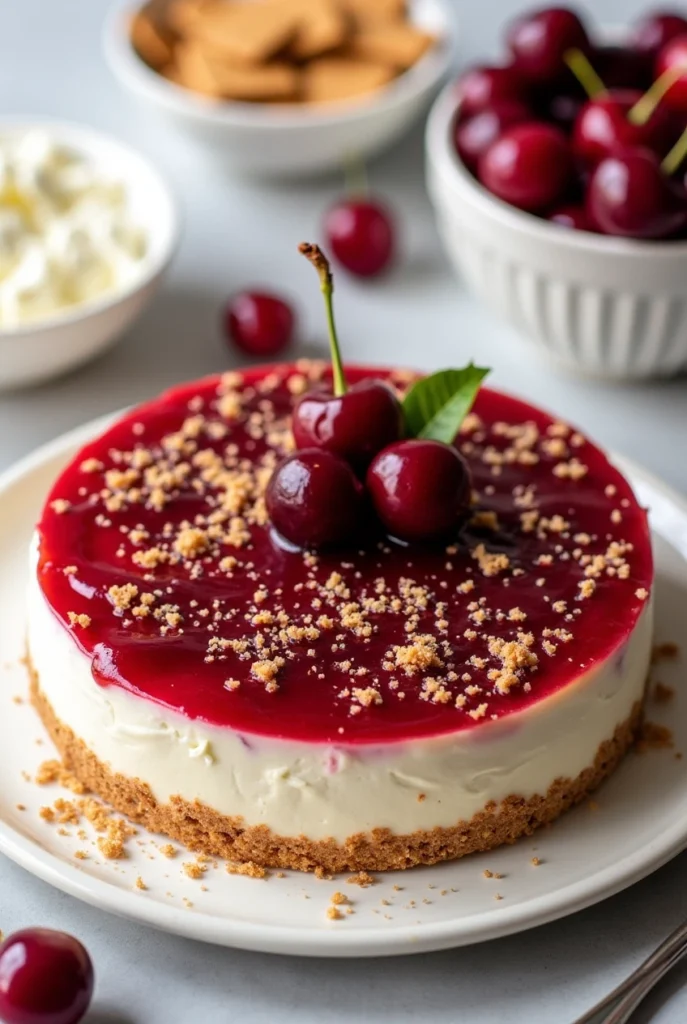
- Serve with style: When ready to serve, slice the dessert into squares or scoop it out with a large spoon. Garnish with a dollop of whipped cream or a sprinkle of graham cracker crumbs for an extra touch.
Pro Tips for the Best Cherry Yum Yum
- Use fresh ingredients: Opt for high-quality cream cheese and cherry pie filling for the best flavor.
- Room temperature cream cheese: Make sure your cream cheese is softened to room temperature before mixing to avoid lumps in the creamy layer.
- Chill thoroughly: Don’t rush the chilling process! The longer it chills, the better the layers will hold together when serving.
With these simple steps, you’ll have a dessert that’s creamy, tangy, and bursting with cherry goodness. Cherry Yum Yum is perfect for potlucks, family gatherings, or just a sweet treat to enjoy at home. Get ready to impress your friends and family with this classic, crowd-pleasing recipe!
Tips for Perfecting Your Cherry Yum Yum
Making Cherry Yum Yum is straightforward, but a few thoughtful tips can take your dessert from good to absolutely unforgettable. Whether you’re a seasoned baker or a beginner, these insights will help you create a dessert that’s as beautiful as it is delicious.
1. Master the Graham Cracker Crust
- Pack it tightly: A firm crust is essential for holding the layers together. Use the bottom of a flat measuring cup or a glass to press the crust evenly into the pan.
- Chill for stability: Don’t skip the chilling step! Letting the crust set in the fridge for at least 15 minutes ensures it stays firm when you add the creamy layer.
- Experiment with flavors: For a twist, try using crushed vanilla wafers or digestive biscuits instead of graham crackers.
2. Achieve a Smooth Cream Cheese Layer
- Soften the cream cheese: Always let your cream cheese come to room temperature before mixing. This prevents lumps and ensures a silky-smooth texture.
- Fold gently: When incorporating the whipped topping, use a light hand. Overmixing can deflate the whipped topping, making the layer less airy.
- Add a citrus kick: For a subtle tang, mix in a teaspoon of fresh lemon juice with the cream cheese. It complements the cherries beautifully!
3. Perfect the Cherry Topping
- Spread evenly: Use a spoon or offset spatula to spread the cherry pie filling evenly across the creamy layer. This ensures every bite has the perfect balance of flavors.
- Go homemade: If you have time, consider making your own cherry topping with fresh or frozen cherries, sugar, and a touch of cornstarch. It adds a personal touch and enhances the flavor.
- Try other fruits: While cherries are classic, you can switch things up with blueberry, strawberry, or even peach pie filling for a fun variation.
4. Presentation Matters
- Chill thoroughly: Let the dessert chill for at least 4 hours, or overnight if possible. This helps the layers set properly, making it easier to slice and serve.
- Clean slices: For neat squares, use a sharp knife and wipe it clean between cuts. This keeps the layers distinct and visually appealing.
- Add garnishes: A dollop of whipped cream, a sprinkle of graham cracker crumbs, or a few fresh cherries on top can elevate the presentation and make it look extra special.
5. Make It Your Own
- Layer it differently: For individual servings, layer the ingredients in small mason jars or dessert cups. It’s a fun and portable way to serve Cherry Yum Yum.
- Adjust the sweetness: If you prefer a less sweet dessert, reduce the sugar in the cream cheese layer or opt for a tart cherry filling.
- Add texture: Sprinkle chopped nuts, like pecans or almonds, between the layers or on top for a delightful crunch.
Why These Tips Matter
By following these tips, you’ll not only create a dessert that tastes amazing but also one that looks stunning and holds together perfectly. Cherry Yum Yum is a versatile recipe that can be customized to suit your preferences, making it a go-to dessert for any occasion.
Now that you’re armed with these pro tips, it’s time to roll up your sleeves and create a Cherry Yum Yum that will wow your family and friends. Enjoy every creamy, fruity, and crumbly bite!
Storing and Serving Your Cherry Yum Yum
Once you’ve created your delicious Cherry Yum Yum, it’s important to store and serve it properly to maintain its fresh, creamy texture and vibrant flavor. Here’s everything you need to know to keep your dessert at its best and make serving a breeze.
How to Store Cherry Yum Yum
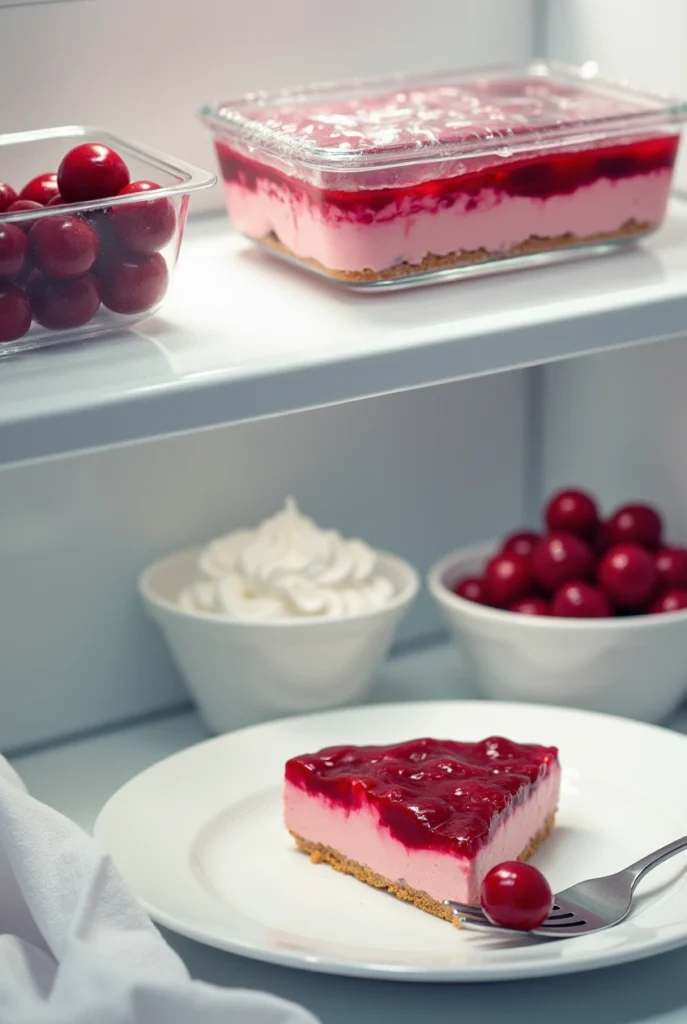
- Refrigeration is key: Since Cherry Yum Yum contains cream cheese and whipped topping, it must be stored in the refrigerator. Cover the dish tightly with plastic wrap or aluminum foil to prevent it from drying out or absorbing other odors.
- Shelf life: Properly stored, Cherry Yum Yum will stay fresh for up to 3-4 days in the fridge. This makes it a great make-ahead dessert for parties or gatherings.
- Individual portions: If you have leftovers, consider dividing them into individual airtight containers. This makes it easy to grab a quick treat without exposing the entire dish to air.
Can You Freeze Cherry Yum Yum?
Yes, you can freeze Cherry Yum Yum, but there are a few things to keep in mind:
- Freeze before adding the cherry topping: The cream cheese layer freezes well, but the cherry pie filling can become watery when thawed. If you plan to freeze, assemble the crust and cream cheese layers, then add the cherry topping after thawing.
- Wrap it well: Use plastic wrap and a layer of aluminum foil to protect the dessert from freezer burn.
- Thawing instructions: When ready to enjoy, transfer the dessert to the refrigerator and let it thaw overnight. Add the cherry topping just before serving for the best texture and flavor.
Serving Cherry Yum Yum
- Chill before serving: For the cleanest slices and the best flavor, ensure the dessert has chilled for at least 4 hours (or overnight). This allows the layers to set and makes serving easier.
- Slice with care: Use a sharp knife to cut the dessert into squares. For neat edges, wipe the knife clean between cuts.
- Garnish for flair: Add a dollop of whipped cream, a sprinkle of graham cracker crumbs, or a few fresh cherries on top of each slice to make it extra special.
Creative Serving Ideas
- Individual servings: For a fun twist, layer the dessert in small mason jars or dessert cups. This is perfect for parties or picnics and makes serving a breeze.
- Pair with coffee or tea: The creamy, tangy flavors of Cherry Yum Yum pair beautifully with a hot cup of coffee or tea, making it an ideal dessert for brunch or afternoon gatherings.
- Serve as a frozen treat: If you’ve frozen the dessert, try serving it slightly chilled for a refreshing, icebox-style treat on a warm day.
Why Proper Storage and Serving Matter
Taking the time to store and serve your Cherry Yum Yum correctly ensures that every bite is as delicious as the first. Whether you’re enjoying it fresh from the fridge or after a few days, these tips will help you preserve its creamy texture, tangy cherry topping, and buttery crust.
With these storage and serving tips, you’re all set to enjoy your Cherry Yum Yum to the fullest. Share it with loved ones or savor it as a well-deserved treat for yourself—it’s a dessert that’s sure to bring smiles every time!
Variations and Customizations for Cherry Yum Yum
One of the best things about Cherry Yum Yum is how versatile it is. While the classic recipe is a crowd-pleaser, you can easily customize it to suit your taste preferences, dietary needs, or the ingredients you have on hand. Here are some creative variations and ideas to make this dessert uniquely yours.
1. Switch Up the Fruit Topping
While cherry pie filling is the star of the traditional recipe, you can experiment with other fruit flavors to keep things exciting.
- Blueberry Bliss: Swap the cherry pie filling for blueberry pie filling for a sweet and slightly tart twist.
- Strawberry Delight: Use strawberry pie filling for a bright, summery flavor that pairs beautifully with the creamy layers.
- Peach Perfection: Try canned or fresh peaches for a refreshing, fruity variation. Add a sprinkle of cinnamon for extra warmth.
- Mixed Berry Medley: Combine raspberries, blackberries, and blueberries for a vibrant, tangy topping that’s bursting with flavor.
2. Experiment with the Crust
The graham cracker crust is a classic choice, but there are plenty of ways to get creative with the base.
- Chocolate Lovers: Use crushed chocolate cookies (like Oreos) instead of graham crackers for a rich, indulgent twist.
- Nutty Crunch: Mix finely chopped pecans or almonds into the graham cracker crumbs for added texture and flavor.
- Gluten-Free Option: Use gluten-free graham crackers or crushed gluten-free cookies to make the dessert suitable for those with dietary restrictions.
3. Add Layers of Flavor
Take your Cherry Yum Yum to the next level by adding extra layers or mix-ins.
- Chocolate Drizzle: Add a drizzle of melted chocolate between the cream cheese layer and the cherry topping for a decadent touch.
- Caramel Swirl: Swirl caramel sauce into the cream cheese layer for a sweet, buttery flavor.
- Crunchy Toppings: Sprinkle crushed toffee bits, chopped nuts, or mini chocolate chips on top of the cherry layer for added texture.
4. Make It Lighterv
If you’re looking for a lighter version of Cherry Yum Yum, there are simple swaps you can make without sacrificing flavor.
- Low-Fat Cream Cheese: Use reduced-fat or Neufchâtel cream cheese for a lighter creamy layer.
- Whipped Topping Alternatives: Opt for a light or sugar-free whipped topping to cut down on calories.
- Fresh Fruit Topping: Replace the canned pie filling with fresh cherries or other fruits for a more natural sweetness.
5. Try Individual Servings
For a fun and portable twist, assemble your Cherry Yum Yum in individual portions.
- Mason Jars: Layer the crust, cream cheese mixture, and cherry topping in small mason jars for a charming presentation.
- Dessert Cups: Use clear dessert cups or glasses to showcase the beautiful layers. These are perfect for parties or picnics.
- Mini Tarts: Press the crust mixture into muffin tins to create mini tart shells, then fill and top as usual.
6. Seasonal Twists
Adapt Cherry Yum Yum to match the season or a special occasion.
- Holiday Flair: Add a sprinkle of crushed peppermint candies on top during the holidays for a festive touch.
- Fall-Inspired: Use spiced apple pie filling and a dash of cinnamon in the cream cheese layer for a cozy autumn dessert.
- Tropical Vibes: Swap the cherry topping for pineapple or mango, and add shredded coconut to the crust for a tropical twist.
Why Customizing Cherry Yum Yum Is So Fun
The beauty of Cherry Yum Yum lies in its flexibility. Whether you’re catering to dietary needs, experimenting with new flavors, or simply using what’s in your pantry, this dessert is endlessly adaptable. Each variation offers a fresh take on the classic, ensuring it never gets boring.
So, don’t be afraid to get creative! With these ideas, you can make Cherry Yum Yum your own and surprise your family and friends with a dessert that’s as unique as it is delicious. Happy experimenting!
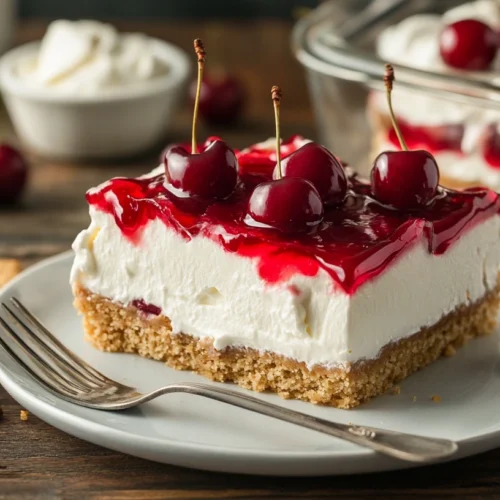
Cherry Yum Yum
Ingredients
For the Graham Cracker Crust
- 2 cups graham cracker crumbs – The base of this dessert providing a buttery, slightly sweet crunch.
- ½ cup unsalted butter melted – Helps bind the crust together and adds richness.
- ¼ cup granulated sugar – Just a touch to sweeten the crust.
For the Cream Cheese Layer
- 2 8-ounce packages cream cheese, softened – The star of the creamy layer. Make sure it’s at room temperature for easy mixing.
- 1 cup powdered sugar – Adds sweetness without the grainy texture.
- 1 teaspoon vanilla extract – Enhances the flavor with a warm aromatic touch.
- 1 8-ounce container whipped topping (like Cool Whip) – Makes the layer light and fluffy.
For the Cherry Topping
- 1 21-ounce can cherry pie filling – The tangy, sweet topping that gives this dessert its signature flavor.
Optional Add-Ons
- Fresh cherries – For garnish if you want to add a pop of color and freshness.
- Shaved chocolate or crushed nuts – For an extra layer of texture and flavor.
Ingredient Tips
- Graham Cracker Crumbs: If you don’t have pre-made crumbs crush whole graham crackers in a food processor or place them in a zip-top bag and crush with a rolling pin.
- Whipped Topping Substitute: Prefer homemade? Whip 1 cup of heavy cream with 2 tablespoons of powdered sugar until soft peaks form.
- Pie Filling Variations: Not a fan of cherries? Swap it out for blueberry strawberry, or even apple pie filling for a fun twist.
Notes
Frequently Asked Questions About Cherry Yum Yum
1. Can I Make Cherry Yum Yum Ahead of Time?
Yes! It’s even better when made a day in advance, as the layers have time to set and the flavors meld together. Just store it covered in the fridge until serving.
2. Can I Use Fresh Cherries Instead of Canned Pie Filling?
Absolutely! Cook fresh cherries with sugar, water, and a little cornstarch until thickened. Let it cool before spreading over the cream cheese layer for a homemade touch.
3. How Do I Prevent the Layers from Mixing?
– Chill the crust before adding the cream cheese layer.
– Spread each layer gently with a spatula.
– Refrigerate between steps if needed.
4. Can I Make a Gluten-Free Version?
Yes! Use gluten-free graham crackers or cookies for the crust, and ensure all other ingredients are labeled gluten-free.
5. How Long Does Cherry Yum Yum Last?
Stored in the fridge, it stays fresh for 3-4 days. For the best texture, enjoy it within the first two days.
These tips will help you create a flawless Cherry Yum Yum every time. Enjoy!

